Authentication
Veeam Kasten offers a variety of different ways to secure access to its dashboard and APIs.
Direct Access
When exposing the Veeam Kasten dashboard externally, it is required that an authentication method is properly configured to secure access. Please note that the token-based authentication is always enabled as a secondary authentication type to let Veeam Kasten Multi-Cluster Manager components and Veeam Backup & Replication services work with Veeam Kasten.
If accessing the Veeam Kasten API directly or using kubectl, any
authentication method configured for the cluster is acceptable. For more
information, see Kubernetes
authentication.
When using Direct Access, there is no RBAC set on Veeam Kasten. Any user who has access to the dashboard can perform all Veeam Kasten operations which is not advisable if granular access is needed.
Basic Authentication
Basic Authentication allows you to protect access to the Veeam Kasten dashboard with a user name and password. To enable Basic Authentication, you will first need to generate htpasswd credentials by either using an online tool or via the htpasswd binary found on most systems. Once generated, you need to supply the resulting string with the helm install or upgrade command using the following flags.
--set auth.basicAuth.enabled=true \
--set auth.basicAuth.htpasswd='example:$apr1$qrAVXu.v$Q8YVc50vtiS8KPmiyrkld0'
Alternatively, you can use an existing secret that contains a file
created with htpasswd. The secret must be in the Veeam Kasten
namespace. This secret must be created with the key named auth and the
value as the password generated using htpasswd in the data field of
the secret.
--set auth.basicAuth.enabled=true \
--set auth.basicAuth.secretName=my-basic-auth-secret
When using Basic Authentication, there is no RBAC set on Veeam Kasten. Any user who has access to the dashboard can perform all Veeam Kasten operations which is not advisable if granular access is needed.
Token Authentication
To enable token authentication use the following flag as part of the initial Helm install or subsequent Helm upgrade command.
--set auth.tokenAuth.enabled=true
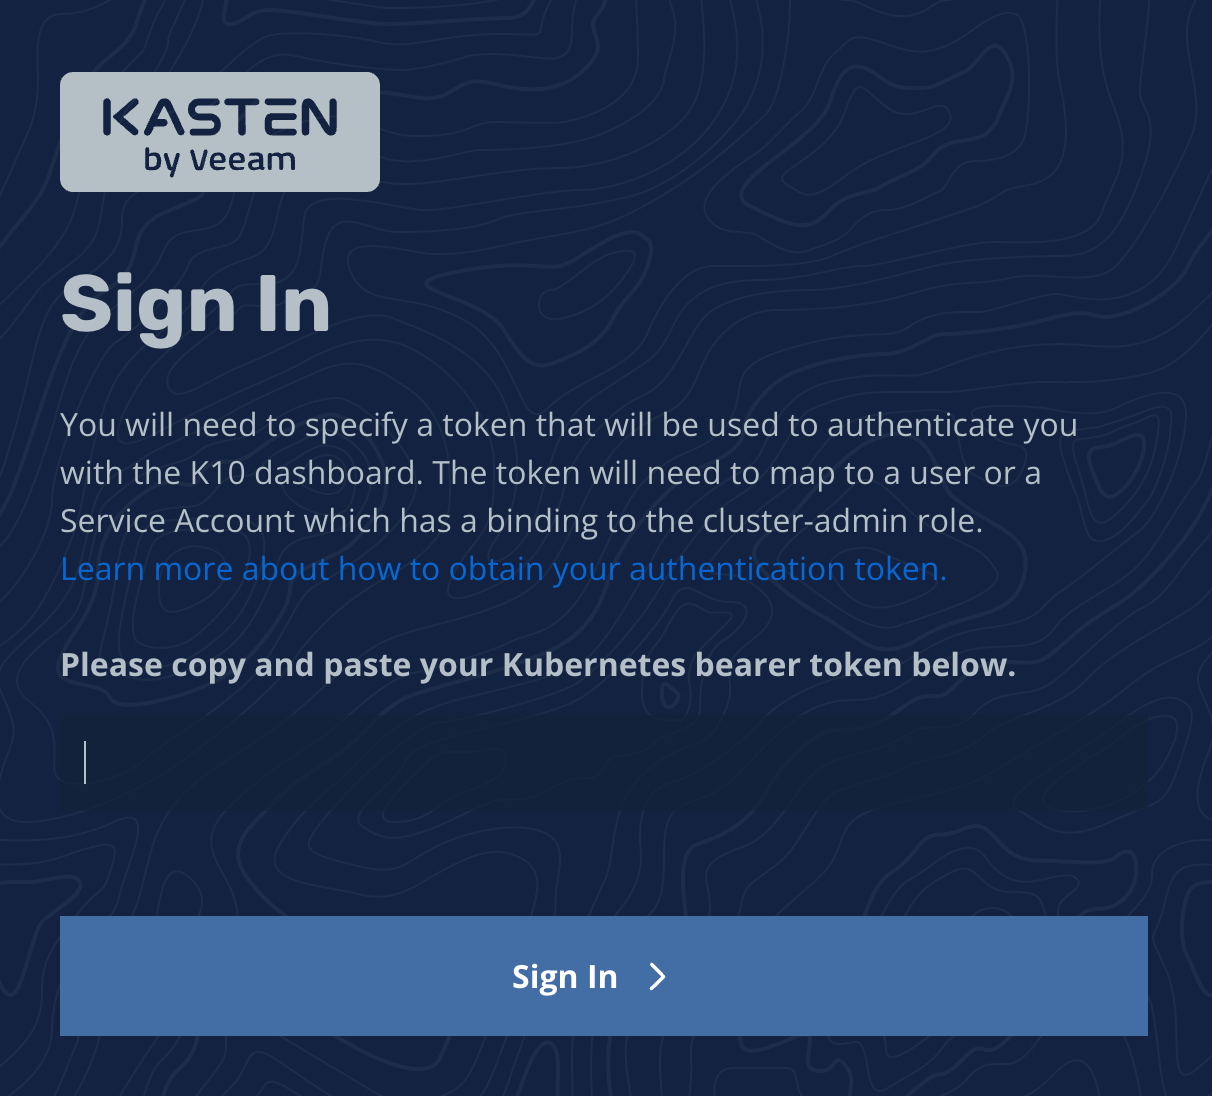
Once the dashboard is configured, you will be prompted to provide a bearer token that will be used when accessing the dashboard.
Obtaining Tokens
Token authentication allows using any token that can be verified by the Kubernetes server. For details on the supported token types see Authentication Strategies.
The most common token type that you can use is a service account bearer token.
You can use kubectl to obtain such a token for a service account that
you know has the proper permissions.
For example, assuming that Veeam Kasten is installed in the kasten-io
namespace and the ServiceAccount is named my-kasten-sa:
-
Generate a token with an expiration period (recommended practice):
$ kubectl --namespace kasten-io create token my-kasten-sa --duration=24h
kubectl client version of 1.24 or higher is required to create a token resource.
-
Create a secret for the desired service account and fetch a permanent token:
$ desired_token_secret_name=my-kasten-sa-token

$ kubectl apply --namespace=kasten-io --filename=- <<EOF
apiVersion: v1
kind: Secret
type: kubernetes.io/service-account-token
metadata:
  name: ${desired_token_secret_name}
  annotations:
    kubernetes.io/service-account.name: "my-kasten-sa"
EOF

$ kubectl get secret ${desired_token_secret_name} --namespace kasten-io -ojsonpath="{.data.token}" | base64 --decode
Prior to Kubernetes 1.24, the token must be extracted from a service account's secret:
$ sa_secret=$(kubectl get serviceaccount my-kasten-sa -o jsonpath="{.secrets[0].name}" --namespace kasten-io)

$ kubectl get secret $sa_secret --namespace kasten-io -ojsonpath="{.data.token}{'\n'}" | base64 --decode
If a suitable service account doesn't already exist, one can be created with:
$ kubectl create serviceaccount my-kasten-sa --namespace kasten-io
The new service account will need appropriate role bindings or cluster role bindings in order to use it within Veeam Kasten. To learn more about the necessary Veeam Kasten permissions, see Authorization.
Token-Based Authentication with AWS EKS
For more details on how to set up token-based authentication with AWS EKS, please follow the following documentation.
Obtaining Tokens with Red Hat OpenShift
An authentication token can be obtained from Red Hat OpenShift via the
OpenShift Console by clicking on your user name in the top right corner
of the console and selecting Copy Login Command. Alternatively, the
token can also be obtained by using the following command:
$ oc whoami --show-token
OAuth Proxy with Red Hat OpenShift (Preview)
The OpenShift OAuth proxy can be used for authenticating access to Veeam Kasten. The following resources have to be deployed in order to setup OAuth proxy in the same namespace as Veeam Kasten.
Configuration
ServiceAccount
Create a ServiceAccount that is to be used by the OAuth proxy deployment
apiVersion: v1
kind: ServiceAccount
metadata:
  name: k10-oauth-proxy
  namespace: kasten-io
Cookie Secret
Create a Secret that is used for encrypting the cookie created by the proxy. The name of the Secret will be used in the configuration of the OAuth proxy.
$ oc --namespace kasten-io create secret generic oauth-proxy-secret \
    --from-literal=session-secret=$(head /dev/urandom | tr -dc A-Za-z0-9 | head -c43)
ConfigMap for OpenShift Root CA
Create a ConfigMap annotated with the inject-cabundle OpenShift
annotation. The annotation results in the injection of OpenShift's root
CA into the ConfigMap. The name of this ConfigMap is used in the
configuration of the OAuth proxy.
apiVersion: v1
kind: ConfigMap
metadata:
  annotations:
    service.beta.openshift.io/inject-cabundle: "true"
  name: service-ca
  namespace: kasten-io
NetworkPolicy
Create a NetworkPolicy to allow ingress traffic on port 8080 and port 8083 to to be forwarded to the OAuth proxy service.
apiVersion: networking.k8s.io/v1
kind: NetworkPolicy
metadata:
  name: allow-external-oauth-proxy
  namespace: kasten-io
spec:
  ingress:
  - ports:
    - port: 8083
      protocol: TCP
    - port: 8080
      protocol: TCP
  podSelector:
    matchLabels:
      service: oauth-proxy-svc
  policyTypes:
  - Ingress
Service
Deploy a Service for OAuth proxy. This needs to be annotated with the
serving-cert-secret-name annotation. This will result in OpenShift
generating a TLS private key and certificate that will be used by the
OAuth proxy for secure connections to it. The name of the Secret used
with the annotation must match with the name used in the OAuth proxy
deployment.
apiVersion: v1
kind: Service
metadata:
  annotations:
    service.beta.openshift.io/serving-cert-secret-name: oauth-proxy-tls-secret
  labels:
    service: oauth-proxy-svc
  name: oauth-proxy-svc
  namespace: kasten-io
spec:
  ports:
  - name: https
    port: 8083
    protocol: TCP
    targetPort: https
  - name: http
    port: 8080
    protocol: TCP
    targetPort: http
  selector:
    service: oauth-proxy-svc
  sessionAffinity: ClientIP
  sessionAffinityConfig:
    clientIP:
      timeoutSeconds: 10800
  type: ClusterIP
status:
  loadBalancer: {}
Deployment
Next, a Deployment for OAuth proxy needs to be created. It is
recommended that a separate OpenShift OAuth client be registered for
this purpose. The name of the client and its Secret will be used with
the --client-id and --client-secret configuration options
respectively.
When an OpenShift ServiceAccount was used as the OAuth client, it was observed that the token generated by the proxy did not have sufficient scopes to operate Veeam Kasten. It is therefore not recommended to deploy the proxy using an OpenShift ServiceAccount as the OAuth client.
It is also important to configure the --pass-access-token with the
proxy so that it includes the OpenShift token in the
X-Forwarded-Access-Token header when forwarding a request to Veeam
Kasten.
The --scope configuration must have the user:full scope to ensure
that the token generated by the proxy has sufficient scopes for
operating Veeam Kasten.
The --upstream configuration must point to the Veeam Kasten gateway
Service.
apiVersion: apps/v1
kind: Deployment
metadata:
  name: oauth-proxy-svc
  namespace: kasten-io
spec:
  progressDeadlineSeconds: 600
  replicas: 1
  revisionHistoryLimit: 10
  selector:
    matchLabels:
      service: oauth-proxy-svc
  strategy:
    rollingUpdate:
      maxSurge: 25%
      maxUnavailable: 25%
    type: RollingUpdate
  template:
    metadata:
      creationTimestamp: null
      labels:
        service: oauth-proxy-svc
    spec:
      containers:
      - args:
        - --https-address=:8083
        - --http-address=:8080
        - --tls-cert=/tls/tls.crt
        - --tls-key=/tls/tls.key
        - --provider=openshift
        - --client-id=oauth-proxy-client
        - --client-secret=oauthproxysecret
        - --openshift-ca=/etc/pki/tls/cert.pem
        - --openshift-ca=/var/run/secrets/kubernetes.io/serviceaccount/ca.crt
        - --openshift-ca=/service-ca/service-ca.crt
        - --scope=user:full user:info user:check-access user:list-projects
        - --cookie-secret-file=/secret/session-secret
        - --cookie-secure=true
        - --upstream=http://gateway:80
        - --pass-access-token
        - --redirect-url=http://openshift.example.com/oauth2/callback
        - --email-domain=*
        image: openshift/oauth-proxy:latest
        imagePullPolicy: Always
        name: oauth-proxy
        ports:
        - containerPort: 8083
          name: https
          protocol: TCP
        - containerPort: 8080
          name: http
          protocol: TCP
        resources:
          requests:
            cpu: 10m
            memory: 20Mi
        terminationMessagePath: /dev/termination-log
        terminationMessagePolicy: File
        volumeMounts:
        - mountPath: /service-ca
          name: service-ca
          readOnly: true
        - mountPath: /secret
          name: oauth-proxy-secret
          readOnly: true
        - mountPath: /tls
          name: oauth-proxy-tls-secret
          readOnly: true
      dnsPolicy: ClusterFirst
      restartPolicy: Always
      schedulerName: default-scheduler
      securityContext: {}
      serviceAccount: k10-oauth-proxy
      serviceAccountName: k10-oauth-proxy
      terminationGracePeriodSeconds: 30
      volumes:
      - configMap:
          defaultMode: 420
          name: service-ca
        name: service-ca
      - name: oauth-proxy-tls-secret
        secret:
          defaultMode: 420
          secretName: oauth-proxy-tls-secret
      - name: oauth-proxy-secret
        secret:
          defaultMode: 420
          secretName: oauth-proxy-secret
OAuth Client
As mentioned earlier, it is recommended that a new OpenShift OAuth client be. registered.
The redirectURIs has to point to the domain name where Veeam Kasten is
accessible. For example if Veeam Kasten is available at
https://example.com/k10, the redirect URI should be set to
https://example.com.
The name of this client must match with the --client-id configuration
in the OAuth proxy deployment.
The Secret in this client must match with the --client-secret
configuration in the OAuth proxy deployment.
The grantMethod can be either prompt or auto.
kind: OAuthClient
apiVersion: oauth.openshift.io/v1
metadata:
 name: oauth-proxy-client
secret: "oauthproxysecret"
redirectURIs:
 - "http://openshift4-4.aws.kasten.io"
grantMethod: prompt
Forwarding Traffic to the Proxy
Traffic meant for Veeam Kasten must be forwarded to the OAuth proxy for
authentication before it reaches Veeam Kasten. Ensure that ingress
traffic on port 80 is forwarded to port 8080 and traffic on port 443 is
forwarded to port 8083 of the oauth-proxy-svc Service respectively.
Here is one example of how to forward traffic to the proxy. In this example, Veeam Kasten was deployed with an external gateway Service. The gateway Service's ports were modified to forward traffic like so:
ports:
- name: https
  nodePort: 30229
  port: 443
  protocol: TCP
  targetPort: 8083
- name: http
  nodePort: 31658
  port: 80
  protocol: TCP
  targetPort: 8080
selector:
  service: oauth-proxy-svc
Sample Auth Flow with Screenshots
This section is meant to provide an example of configuring authentication and authorization for operating Veeam Kasten in an OpenShift cluster to help provide an end to end picture of the Auth flow when working with the OAuth proxy.
-
Oktawas configured as the OIDC provider in the OpenShift cluster. -
An OpenShift group called
k10-adminswas created and users were added to this group. -
A cluster role binding was created to bind the
k10-adminsgroup to thek10-admincluster role. -
A role binding was created to map the
k10-adminsgroup to thek10-ns-adminrole in the Veeam Kasten namespace. -
When the user navigates to the Veeam Kasten dashboard, the request reaches the proxy. The proxy presents a login screen to the user.
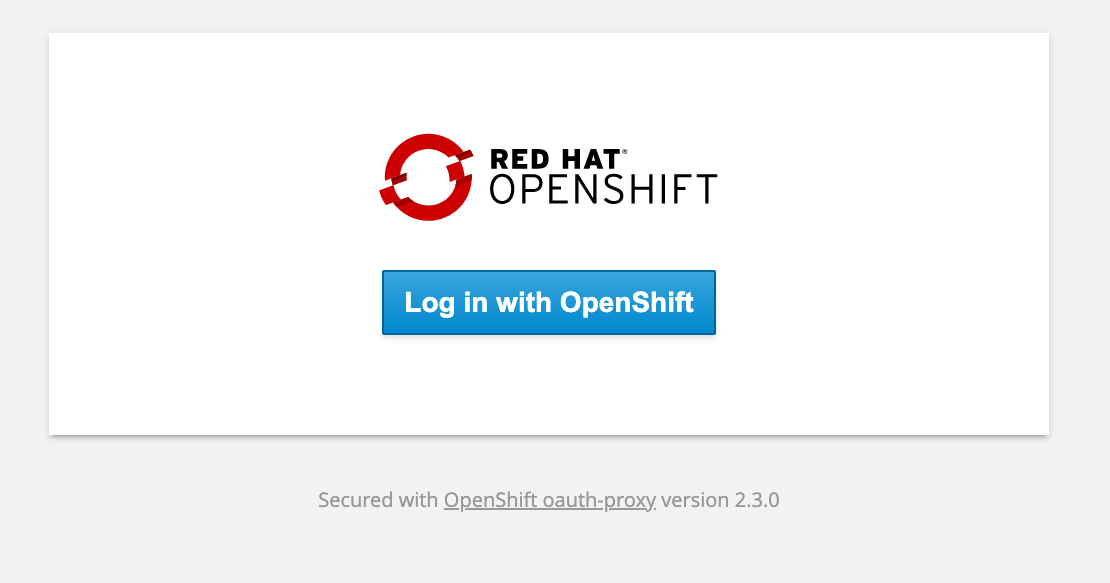
-
After clicking the login button, the user is forwarded to the OpenShift login screen. The OpenShift screen will provide the option of selecting
kube:adminor the OIDC option if it has been configured in the cluster.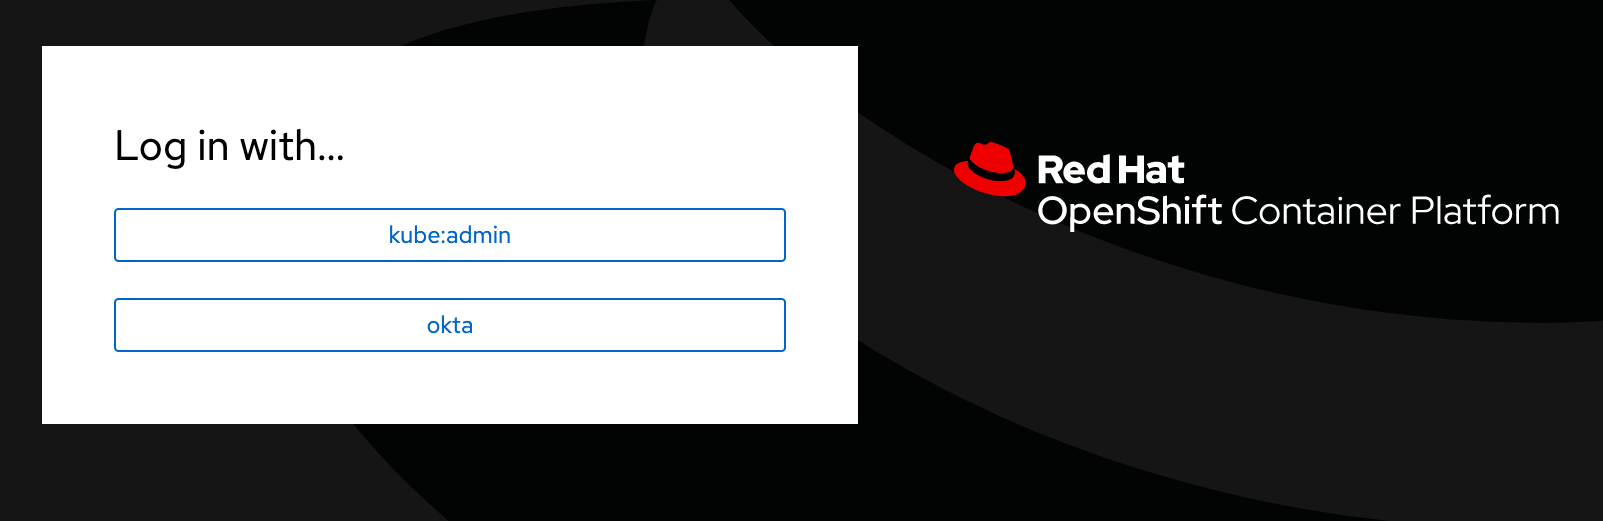
-
After clicking on the OIDC option
oktain this example, the OIDC provider's login screen is shown.
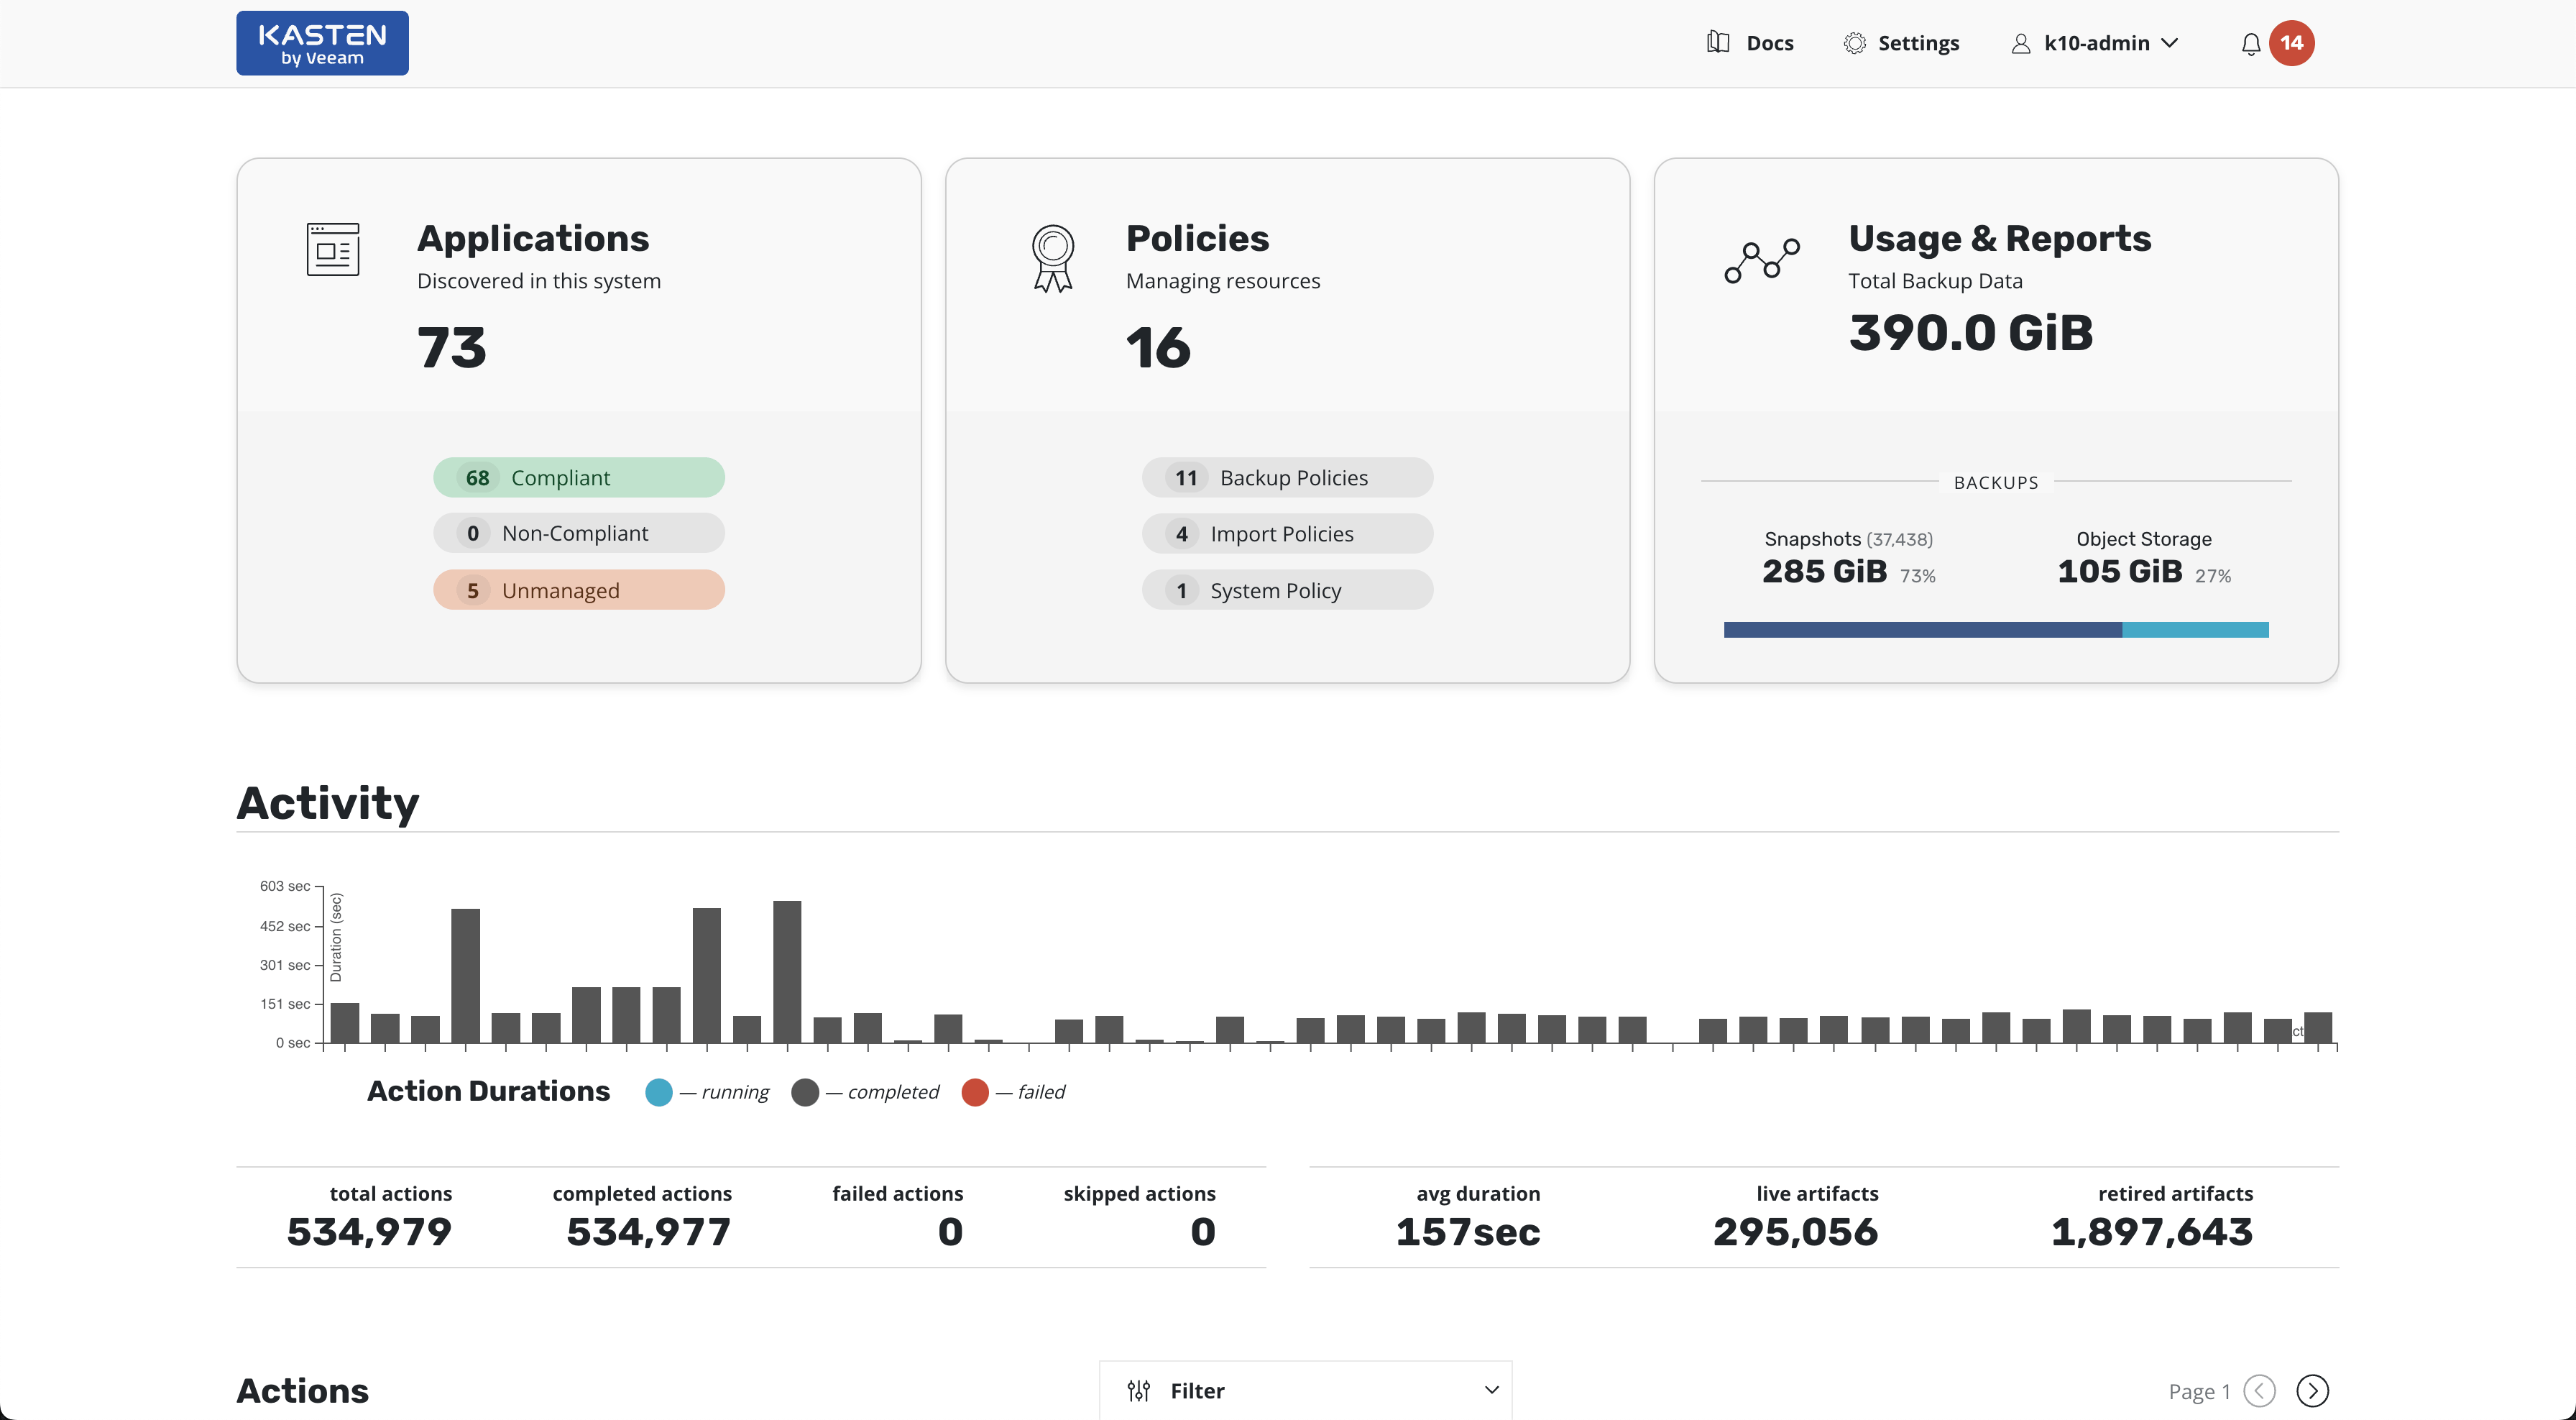
-
When authentication with the OIDC provider succeeds, the user is redirected to the Veeam Kasten dashboard.
Additional Documentation
For more information about the OpenShift OAuth proxy, refer to the documentation here.
OpenID Connect Authentication
For more information regarding TLS restrictions with Kasten, please refer to this documentation.
Veeam Kasten supports the ability to obtain a token from an OIDC provider and then use that token for authentication. Veeam Kasten extracts the user's ID from the token and uses Kubernetes User Impersonation with that ID to ensure that user-initiated actions (via the API, CLI or dashboard) are attributed to the authenticated user.
It also supports a refresh token workflow for OIDC, which ensures that
authenticated sessions remain active even after access tokens have
expired. This feature eliminates the need for frequent
re-authentication, thereby enhancing usability. This workflow is
disabled by default. You need to enable it using the
auth.oidcAuth.refreshTokenSupport helm flag and you might need to do
some additional configuration changes to your OIDC provider. Each OIDC
provider will have different requirements to enable support for token
refresh, please refer to their documentation to make sure it is properly
enabled.
When configuring your OIDC provider to support the refresh token
workflow, please make sure that it allows the offline_access scope.
The standard OIDC documentation contains detailed descriptions of how token refresh works. No additional configuration is necessary on the Veeam Kasten side.
Helm Flags for Refresh Token Workflow
The refresh token workflow and Veeam Kasten UI session can be managed using the two new flags listed below:
1. auth.oidcAuth.refreshTokenSupport: This flag enables or disables
the refresh token workflow.
2. auth.oidcAuth.sessionDuration: This flag sets the duration of the
Veeam Kasten UI session when using OIDC authentication. It manages how
often users are prompted to re-authenticate.
Cluster Setup
Veeam Kasten works with your OIDC provider irrespective of whether the Kubernetes cluster is configured with the same OIDC provider, a different OIDC provider, or without any identity providers.
For configuring a cluster with OIDC Tokens see OpenID Connect(OIDC) Token.
For more information on the Kubernetes API configuration options, see Configuring the API Server.
When working with a hosted Kubernetes offering (e.g. GKE, AKS, IKS) there will usually be specific instruction on how to enable this since you may not be able to explicitly configure the Kubernetes API server.
Overall, this portion of the configuration is beyond the scope of the Veeam Kasten product and is part of the base setup of your Kubernetes cluster.
Veeam Kasten Setup
Provider Redirect URI Authorizations
As part of the exchange with the OIDC provider, Veeam Kasten will include a redirect URL in its request to the provider. The provider will return the user to that endpoint after the user has been authenticated. If the OIDC provider that you are using requires that redirects are specifically authorized, you will need to add the redirect URL to the provider's allow-list:
-
For a Veeam Kasten instance exposed externally use
https://<URL to k10 gateway service>/<k10 release name>/auth-svc/v0/oidc/redirect -
For a Veeam Kasten instance exposed through [kubectl
port-forward] use
http://127.0.0.1:<forwarding port>/<k10 release name>/auth-svc/v0/oidc/redirect
Veeam Kasten Configuration
The final step is providing Veeam Kasten with the settings needed to initiate the OIDC workflow and obtain a token.
-
Enable OIDC
To enable OIDC based authentication use the following flag as part of the initial Helm install or subsequent Helm upgrade command.
--set auth.oidcAuth.enabled=true -
OIDC Provider
This is a URL for OIDC provider. If the Kubernetes API server and Veeam Kasten share the same OIDC provider, use the same URL that was used when configuring the [--oidc-issuer-url] option of the API server.
Use the following Helm option:
--set auth.oidcAuth.providerURL=<provider URL> -
Redirect URL
This is the URL to the Veeam Kasten gateway service.
Use
https://<URL to k10 gateway service>for Veeam Kasten exposed externally orhttp://127.0.0.1:<forwarding port>for Veeam Kasten exposed through kubectl port-forward.Use the following Helm option:
--set auth.oidcAuth.redirectURL=<gateway URL> -
OIDC Scopes
This option defines the scopes that should be requested from the OIDC provider. If the Kubernetes API server and Veeam Kasten share the same OIDC provider, use the same claims that were requested when configuring the [--oidc-username-claim] option of the API server.
Use the following Helm option:
--set auth.oidcAuth.scopes=<space separated scopes. Quoted if multiple> -
OIDC Prompt
If provided, this option specifies whether the OIDC provider must prompt the user for consent or re-authentication. The well known values for this field are
select_account,login,consent, andnone. Check the OIDC provider's documentation to determine what value is supported. The default value isselect_account.Use the following Helm option:
--set auth.oidcAuth.prompt=<prompt> -
OIDC Client ID
This option defines the Client ID that is registered with the OIDC Provider. If the Kubernetes API server and Veeam Kasten share the same OIDC provider, use the same client ID specified when configuring the [--oidc-client-id] option of the API server.
Use the following Helm option:
--set auth.oidcAuth.clientID=<client id string> -
OIDC Client Secret
This option defines the Client Secret that corresponds to the Client ID registered. You should have received this value from the OIDC provider when registering the Client ID.
Use the following Helm option:
--set auth.oidcAuth.clientSecret=<secret string> -
OIDC User Name Claim
This option defines the OpenID claim that has to be used by Veeam Kasten as the user name. It will be used by Veeam Kasten for impersonating the user while interacting with the Kubernetes API server for authorization. If not provided, the default claim is
sub. This user name must match the User defined in the role bindings described here:rbac.Use the following Helm option:
--set auth.oidcAuth.usernameClaim=<username claim> -
OIDC User Name Prefix
If provided, all usernames will be prefixed with this value. If not provided, username claims other than
emailare prefixed by the provider URL to avoid clashes. To skip any prefixing, provide the value-.Use the following Helm option:
--set auth.oidcAuth.usernamePrefix=<username prefix> -
OIDC Group Name Claim
If provided, this specifies the name of a custom OpenID Connect claim to be used by Veeam Kasten to identify the groups that a user belongs to. The groups and the username will be used by Veeam Kasten for impersonating the user while interacting with the Kubernetes API server for authorization.
To ensure that authorization for the user is successful, one of the groups should match with a Kubernetes group that has the necessary role bindings to allow the user to access Veeam Kasten.
If the user is an admin user, then the user is most likely set up with all the required permissions for accessing Veeam Kasten and no new role bindings are necessary.
To avoid creating new role bindings for non-admin users every time a new user needs to be added to the list of users who will operate Veeam Kasten, consider adding the user to a group such as
my-K10-adminsin the OIDC provider and add that user to the same group in the Kubernetes cluster. Create role bindings to associate themy-K10-adminsgroup with a cluster role -k10-adminand namespace scoped role -k10-ns-admin(seerbacfor more information about these roles that are created by Veeam Kasten as part of the installation process). This ensures that once a user is authenticated successfully with the OIDC provider, if the groups information from the provider matches the groups information in Kubernetes, it will authorize the user for accessing Veeam Kasten.Note that instead of
my-k10-admins, if the user is added tok10:adminsin the OIDC provider and to the same group in the Kubernetes cluster, no additional role bindings need to be created since Veeam Kasten creates them as a part of the installation process.For more information about role bindings -
rbac.Use the following Helm option:
--set auth.oidcAuth.groupClaim=<group claim> -
OIDC Group Prefix
If provided, all groups will be prefixed with this value to prevent conflicts. To disable the group prefix, either remove this setting or set it to
"".Use the following Helm option:
--set auth.oidcAuth.groupPrefix=<group prefix>
Below is a summary of all the options together. These options can be
included as part of the initial install command or can be used with a
helm upgrade (see more about upgrade at
install_upgrade) command to modify an
existing installation.
--set auth.oidcAuth.enabled=true \
--set auth.oidcAuth.providerURL="https://okta.example.com" \
--set auth.oidcAuth.redirectURL="https://k10.example.com/" \
--set auth.oidcAuth.scopes="groups profile email" \
--set auth.oidcAuth.prompt="select_account" \
--set auth.oidcAuth.clientID="client ID" \
--set auth.oidcAuth.clientSecret="client secret" \
--set auth.oidcAuth.usernameClaim="email" \
--set auth.oidcAuth.usernamePrefix="-" \
--set auth.oidcAuth.groupClaim="groups" \
--set auth.oidcAuth.groupPrefix=""
Existing Secret Usage
It is possible to use an existing secret to provide the following parameters for OIDC configuration:
-
OIDC Client ID
The Client ID that is registered with the OIDC Provider. Field name -
client-id -
OIDC Client Secret
The Client Secret that corresponds to the registered Client ID. Field name -
client-secret
Use the following Helm option:
--set auth.oidcAuth.clientSecretName=<secret name>
Please ensure that the secret exists in the namespace where Veeam Kasten
is installed. The default namespace assumed throughout this
documentation is kasten-io. Additionally, ensure that the
Secret contains both the client-id and client-secret fields with
valid values. If both the auth.oidcAuth.clientSecretName and
auth.oidcAuth.clientID auth.oidcAuth.clientSecret Helm values are
set, the content of the Secret referred by clientSecretName will be
used.
apiVersion: v1
kind: Secret
metadata:
  name: my-oidc-secret
  namespace: kasten-io
data:
  client-id: AKIAIOSFODNN7EXAMPLEID
  client-secret: bPxRfiCYEXAMPLESECRET
type: Opaque
OpenShift Authentication
For more information regarding TLS restrictions with Kasten, please refer to this documentation.
This mode can be used to authenticate access to Veeam Kasten using OpenShift's OAuth server.
Extract Root CA certificates to the Veeam Kasten namespace
To interact with the OpenShift's OAuth server, Veeam Kasten requires Root CA certificates from the OpenShift cluster to be extracted to the Veeam Kasten namespace.
To extract the Root CA certificates, please use the command-line tool documented in the Extracting OpenShift CA Certificates section or refer to the section.
Install or Update Veeam Kasten with OpenShift Authentication
Veeam Kasten can be installed onto an OpenShift cluster either through the Red Hat Operator or by using a Helm command, as described in the Installing Veeam Kasten on Red Hat OpenShift section. Depending on the selected method, the appropriate Veeam Kasten configuration should be applied.
For example, if installed using the OpenShift Operator, the configuration must be applied using the OpenShift Veeam Kasten Operand YAML, not through Helm upgrade.
By default, Veeam Kasten automatically configures the OAuth Client during installation.This process includes extracting the Root CA certificates, creating the OAuth Client Service Account, and generating the corresponding secret. If manual configuration is preferred, please refer to the section on Manual OAuth Client Configuration .
Red Hat OpenShift Operator Configuration
To enable this mode of authentication when installing or upgrading via the Red Hat OpenShift Operator, enable the configuration options below while installing or upgrading Veeam Kasten. The following section provides detailed explanations for each value, as specified by the corresponding Helm flag.

apiVersion: apik10.kasten.io/v1alpha1
kind: K10
metadata:
  name: k10
  namespace: kasten-io
spec:
  auth:
    openshift:
      enabled: true
      dashboardURL: "<K10's dashboard URL>"
      openshiftURL: "<OpenShift API server's URL>"
      insecureCA: false
  route:
    enabled: true
    tls:
      enabled: true
Helm-based Configuration
When installing or upgrading Veeam Kasten using Helm, enable the Helm options below to activate this authentication mode. The following section provides detailed explanations for each Helm value:
$ helm upgrade k10 kasten/k10 --namespace kasten-io --reuse-values \
  --set auth.openshift.enabled=true \
  --set auth.openshift.dashboardURL="<K10's dashboard URL>" \
  --set auth.openshift.openshiftURL="<OpenShift API server's URL>" \
  --set auth.openshift.insecureCA=false
-
Enable OpenShift Authentication
To enable OpenShift-based authentication, use the following flag as part of the initial Helm install or subsequent Helm upgrade command:
--set auth.openshift.enabled=true -
Veeam Kasten's Dashboard URL
Provide the URL used for accessing Veeam Kasten's dashboard. Assuming the base domain is
mydomain.com, the Veeam Kasten namespace iskasten-io, the Veeam Kasten release name isk10, and theroute.enabledHelm value is set totrue. In this case, theauth.openshift.dashboardURLHelm value will be the following:--set auth.openshift.dashboardURL="https://k10-route-kasten-io.apps.mydomain.com/k10" -
OpenShift API Server URL
Provide the URL for accessing OpenShift's API server. For example, if the base domain is
mydomain.com, theauth.openshift.openshiftURLHelm value will be the following:--set auth.openshift.openshiftURL="https://api.mydomain.com:6443" -
Disabling TLS verification to OpenShift API server
The default value for this setting is
false, indicating that connections to the API server are secure by default. The TLS connections to the API server are verified.To disable TLS verification, set this value to
true.Use the following Helm option to enable or disable TLS verification of connections to OpenShift's API server.
--set auth.openshift.insecureCA=falseNoteFor security reasons, disabling TLS verification to the OpenShift API server in a production environment is strongly discouraged.
Extract Root CA certificates to the Veeam Kasten namespace
To interact with the OpenShift OAuth server, Veeam Kasten requires Root CA certificates from the OpenShift cluster to be added to the custom CA bundle ConfigMap in the Veeam Kasten namespace. By default, the extraction of the required certificates is performed automatically during installation and upgrades.
Using the automated process for CA extraction is recommended unless otherwise instructed by Kasten support.
To disable automatic CA certificate extraction:
-
For Operator-based installations: Set
K10 > spec > auth > openshift > caCertsAutoExtractiontofalse -
For Helm-based installations: Set
auth.openshift.caCertsAutoExtractiontofalse
--set auth.openshift.caCertsAutoExtraction=false
In this case, please use the command-line tool documented in the Extracting OpenShift CA Certificates section or refer to the Manual Root CA Certificates Extraction section to extract the Root CA certificates.
Manual Root CA Certificates Extraction
Depending on the OpenShift cluster's configuration, there are two methods to obtain a certificate. If a cluster-wide proxy is not used, then use Method 1 documented below. Otherwise use Method 2 documented below.
If a third-party signed certificate for OpenShift is being used instead of a self-signed certificate, it is important to ensure that the third-party signed certificate and CA are used within the Veeam Kasten config map.
Method 1: Obtain certificates from the Openshift Ingress and External Load Balancer
In the OpenShift-Ingress-Operator namespace, the Secret Router is responsible for routing encrypted traffic between the client and the target service. This encrypted traffic is usually in the form of HTTPS requests. The Secret Router uses a certificate stored in a Kubernetes Secret object to encrypt the traffic.
Example for self-signed certificates in OpenShift
If using default or self-signed certificates in Openshift, in addition to the Secret Router, the certificate from the Open Shift External Load Balancer is required for Veeam Kasten to send authentication requests to the OpenShift API server.
$ oc get secret router-ca -n openshift-ingress-operator -o jsonpath='{.data.tls\.crt}' | \
  base64 --decode > <custom-bundle-file>.pem
$ oc get secret external-loadbalancer-serving-certkey -n openshift-kube-apiserver -o jsonpath='{.data.tls\.crt}' | \
  base64 --decode >> <custom-bundle-file>.pem
Replace <custom-bundle-file> with the desired filename
Example for thirdy-party signed certificates in OpenShift
If using 3rd party API server certificate in OpenShift, in addition to the Secret Router, the certificate configured for the API server is required for Veeam Kasten to send authentication requests to the OpenShift API Server. The certificates can be extracted into a single bundle file (the file name is arbitrary and can be chosen as needed):
$ oc get secret router-ca -n openshift-ingress-operator -o jsonpath='{.data.tls\.crt}' | \
  base64 --decode > <custom-bundle-file>.pem
$ oc get secret -n openshift-config $(oc get apiserver cluster -o jsonpath='{.spec.servingCerts.namedCertificates[*].servingCertificate.name}') -o jsonpath='{.data.tls\.crt}' | \
  base64 --decode >> <custom-bundle-file>.pem
Replace <custom-bundle-file> with the desired filename
Alternatively, the API Server Certificate can be exported from a web
browser:
https://<Open Shift API Server URI>:6443/.well-known/oauth-authorization-server
Method 2: Obtain certificate from the OpenShift cluster-wide proxy
The OpenShift Proxy is responsible for routing incoming requests to the appropriate service or pod in the cluster. The proxy can perform various functions such as load balancing, SSL termination, URL rewriting, and request forwarding. To provide trusted certificate authorities for the OpenShift Proxy:
Extract the trusted CA bundle configured for the proxy
$ oc get configmap $(oc get proxy cluster -n openshift-config -o jsonpath='{.spec.trustedCA.name}') -n openshift-config -o jsonpath='{.data.ca-bundle\.crt}' ><custom-bundle-file>.pem
Replace <custom-bundle-file> with the desired filename
Create a ConfigMap containing the certificate
## Choose any name for the ConfigMap
$ oc --namespace kasten-io create configmap <configmap-name> --from-file= <custom-bundle-file>.pem
Replace <configmap-name> with any desired ConfigMap name and <custom-bundle-file> with the filename used previously.
Provide the name of the ConfigMap and key using K10 > spec > cacertconfigmap > name
and K10 > spec > cacertconfigmap > key for the Operator config or
as a Helm option cacertconfigmap.name and cacertconfigmap.key respectively.
--set cacertconfigmap.name="custom-ca-bundle-store"
--set cacertconfigmap.key=<configmap-key>
Replace <configmap-key> with the desired key
Manual OAuth Client Configuration
Manual Client Service Account Creation
By default, Veeam Kasten automatically generates the Client Service Account and its corresponding secret. To use a manually created Service Account, perform the steps described in this section.
Before installing or upgrading Veeam Kasten, a Service Account must be created in the namespace where Veeam Kasten will be installed or upgraded. This Service Account represents an OAuth client that will interact with OpenShift's OAuth server.
Assuming Veeam Kasten is installed in the namespace kasten-io,
deployed with the release name k10, and the URL for accessing Veeam
Kasten is https://k10-route-kasten-io.apps.mydomain.com/k10, use the
following command to create a Service Account named k10-dex-sa
annotated with the serviceaccounts.openshift.io/oauth-redirecturi.dex
annotation. This annotation registers the Service Account as an OAuth
client with the OpenShift OAuth server.
$ cat > oauth-sa.yaml <<EOF
apiVersion: v1
kind: ServiceAccount
metadata:
  name: k10-dex-sa
  namespace: kasten-io
  annotations:
    serviceaccounts.openshift.io/oauth-redirecturi.dex: https://k10-route-kasten-io.apps.mydomain.com/k10/dex/callback
EOF

$ kubectl create -f oauth-sa.yaml
Ensure that the redirect URI specified in the ServiceAccount annotation
uses the correct protocol for the Veeam Kasten callback. In most cases,
it is the HTTPS, but it depends on the value of the
K10 > spec > route > tls > enabled parameter for the OpenShift
Operator or the --route.tls.enabled flag in Helm. It also depends on
the configuration of the K8s Ingress or the Service used to expose the
Veeam Kasten.
Provide the name of the Service Account using
K10 > spec > auth > openshift > serviceAccount for the Operator config
or as a Helm option auth.openshift.serviceAccount.
--set auth.openshift.serviceAccount="k10-dex-sa"
Manual Client Secret Creation
By default, Veeam Kasten automatically generates the corresponding client secret required to connect to the OpenShift OAuth server for the Service Account, whether it is automatically or manually created. Choose one of the options described in this section to use a manually created secret.
To manually create the Service Account token to be used in
K10 > spec > auth > openshift > clientSecret for the Operator config
or as a Helm option auth.openshift.clientSecret, follow these steps:
1. Creating the Secret: This secret will be associated with the k10-dex-sa Service Account. Run the following commands:
$ desired_secret_name="k10-dex-sa-secret"
$ kubectl apply --namespace=kasten-io --filename=- <<EOF
apiVersion: v1
kind: Secret
type: kubernetes.io/service-account-token
metadata:
  name: ${desired_secret_name}
  annotations:
    kubernetes.io/service-account.name: "k10-dex-sa"
EOF
2. Retrieving the Token: Use the following command to get the token from the Secret:
$ my_token=$(kubectl -n kasten-io get secret $desired_secret_name -o jsonpath='{.data.token}' | base64 -d)
An alternative approach is to provide the name of an existing secret
containing a token. This approach can be achieved by passing the secret
name (e.g. k10-dex-sa-secret) to the
K10 > spec > auth > openshift > clientSecretName for the Operator
config or as the Helm option auth.openshift.clientSecretName. Ensure
that the secret exists in the Veeam Kasten namespace and contains a
valid token in the .data.token field of the secret.
If both auth.openshift.clientSecret and
auth.openshift.clientSecretName are provided, the token referenced by
name will be used.
Sample Auth Flow with Screenshots
This section shows screenshots depicting the Auth flow when Veeam Kasten is installed with OpenShift authentication.
-
Oktawas configured as the OIDC provider in the OpenShift cluster. -
An OpenShift group called
k10-adminswas created and users were added to this group. -
A cluster role binding was created to bind the
k10-adminsgroup to thek10-admincluster role. -
A role binding was created to map the
k10-adminsgroup to thek10-ns-adminrole in the Veeam Kasten namespace. -
When the user navigates to the Veeam Kasten dashboard, the user is redirected to OpenShift's login screen.
-
After clicking on the OIDC option
oktain this example, the OIDC provider's login screen is shown. -
When authentication with the OIDC provider succeeds, the user is redirected to the Veeam Kasten dashboard.
Active Directory Authentication
For more information regarding TLS restrictions with Kasten, please refer to this documentation.
This mode allows access to Veeam Kasten to be authenticated using an Active Directory or LDAP server.
To enable this authentication mode, make sure that you enable the specified Helm options during the installation or upgrade of Veeam Kasten. The detailed descriptions of the required and optional Helm values are provided below:
$ helm upgrade k10 kasten/k10 --namespace kasten-io --reuse-values \
  --set auth.ldap.enabled=true \
  --set auth.ldap.dashboardURL="K10's dashboard URL" \
  --set auth.ldap.host="host:port" \
  --set auth.ldap.bindDN="DN used for connecting to the server" \
  --set auth.ldap.bindPWSecretName="Secret containing password for connecting to the server" \
  --set auth.ldap.userSearch.baseDN="base DN for user search" \
  --set auth.ldap.userSearch.username="mail" \
  --set auth.ldap.userSearch.idAttr="uid" \
  --set auth.ldap.userSearch.emailAttr="mail" \
  --set auth.ldap.userSearch.nameAttr="givenName" \
  --set auth.ldap.userSearch.preferredUsernameAttr="givenName" \
  --set auth.ldap.groupSearch.baseDN="base DN for group search" \
  --set auth.ldap.groupSearch.nameAttr="Attribute representing a group's name" \
  --set auth.ldap.groupSearch.userMatchers[0].userAttr="DN" \
  --set auth.ldap.groupSearch.userMatchers[0].groupAttr="member" \
  ## optional
  --set auth.ldap.userSearch.filter="insert your search filter here" \
  --set auth.ldap.groupSearch.filter="insert your search filter here" \
The complete list of configurable parameters is available in
install_advanced.
Due to the behavior of the --set option, any commas
used in LDAP values must be properly escaped. For example,
--set auth.ldap.bindDN="CN=demo tkg\,OU=ServiceAccount\,OU=my-department\,DC=my-company\,DC=demo"
Alternatively, you can define the values in a Helm values file without
escaping the commas. Then, you can use the file by using the -f option
with the helm install or upgrade command. For example,
helm upgrade k10 kasten/k10 --namespace kasten-io -f path_to_values_file.
Veeam Kasten Setup
-
Enable Active Directory Authentication
To enable Active Directory based authentication use the following flag as part of the initial Helm install or subsequent Helm upgrade command.
--set auth.ldap.enabled=true -
Restart the Authentication Pod
If the Helm option
auth.ldap.bindPWSecretNamehas been used to specify the name of the secret that contains the Active Directory bind password, and if this password is modified after Veeam Kasten has been installed, use this Helm option to restart the Authentication Service's Pod as part of the Helm upgrade command.--set auth.ldap.restartPod=true -
Veeam Kasten's Dashboard URL
Provide the URL used for accessing Veeam Kasten's dashboard using the following Helm option.
--set auth.ldap.dashboardURL="https://<URL to k10 gateway service>/<k10 release name>" -
Active Directory/LDAP host
Provide the host and optional port of the AD/LDAP server in the form host:port using the following Helm option.
--set auth.ldap.host="host:port" -
Disable SSL
Set this field to true if the Active Directory/LDAP host is not using TLS, using the following Helm option.
--set auth.ldap.insecureNoSSL="true" -
Disable SSL verification
Use the following helm option to set this field to true to disable SSL verification of connections to the Active Directory/LDAP server.
--set auth.ldap.insecureSkipVerifySSL="true" -
Start TLS
When set to true,
ldap://is used to connect to the server followed by creation of a TLS session. When set to false,ldaps://is used.--set auth.ldap.startTLS="true" -
Bind Distinguished Name
Use this helm option to provide the Distinguished Name(username) used for connecting to the Active Directory/LDAP host.
--set auth.ldap.bindDN="cn=admin,dc=example,dc=org" -
Bind Password
Use this helm option to provide the password corresponding to the
bindDNfor connecting to the Active Directory/LDAP host.--set auth.ldap.bindPW="password" -
Bind Password Secret Name
Use this helm option to provide the name of the secret that contains the password corresponding to the
bindDNfor connecting to the AD/LDAP host. This option can be used instead ofauth.ldap.bindPW. If both have been configured, then this option overridesauth.ldap.bindPW.--set auth.ldap.bindPWSecretName="bind-pw-secret"This secret can be created using the following command:
kubectl create secret generic bind-pw-secret --from-literal=bindPW="password" -
User Search Base Distinguished Name
Use this helm option to provide the base Distinguished Name to start the Active Directory/LDAP user search from.
--set auth.ldap.userSearch.baseDN="ou=users,dc=example,dc=org" -
User Search Filter
Use this helm option to provide the optional filter to apply when searching the directory for users.
--set auth.ldap.userSearch.filter="(objectClass=inetOrgPerson)" -
User Search Username
Use this helm option to provide the attribute used for comparing user entries when searching the directory.
--set auth.ldap.userSearch.username="uid" -
User Search ID Attribute
Use this helm option to provide the Active Directory/LDAP attribute in a user's entry that should map to the user ID field in a token.
--set auth.ldap.userSearch.idAttr="uid" -
User Search email Attribute
Use this helm option to provide the Active Directory/LDAP attribute in a user's entry that should map to the
emailfield in a token.--set auth.ldap.userSearch.emailAttr="uid" -
User Search Name Attribute
Use this helm option to provide the Active Directory/LDAP attribute in a user's entry that should map to the
namefield in a token.--set auth.ldap.userSearch.nameAttr="uid" -
User Search Preferred Username Attribute
Use this helm option to provide the Active Directory/LDAP attribute in a user's entry that should map to the
preferred_usernamefield in a token.--set auth.ldap.userSearch.preferredUsernameAttr="uid" -
Group Search Base Distinguished Name
Use this helm option to provide the base Distinguished Name to start the AD/LDAP group search from.
--set auth.ldap.groupSearch.baseDN="ou=users,dc=example,dc=org" -
Group Search Filter
Use this helm option to provide the optional filter to apply when searching the directory for groups.
--set auth.ldap.groupSearch.filter="(objectClass=groupOfNames)" -
Group Search Name Attribute
Use this helm option to provide the Active Directory/LDAP attribute that represents a group's name in the directory.
--set auth.ldap.groupSearch.nameAttr="cn" -
Group Search User Matchers
The
userMatchershelm option represents a list. Each entry in this list consists of a pair of fields nameduserAttrandgroupAttr. This helm option is used to find users in the directory based on the condition that, the user entry's attribute represented byuserAttrmust match a group entry's attribute represented bygroupAttr.As an example, suppose a group's definition in the directory looks like the one below:
## k10admins, users, example.org
dn: cn=k10admins,ou=users,dc=example,dc=org
cn: k10admins
objectClass: groupOfNames
member: cn=user1@kasten.io,ou=users,dc=example,dc=org
member: cn=user2@kasten.io,ou=users,dc=example,dc=org
member: cn=user3@kasten.io,ou=users,dc=example,dc=org
Suppose
user1's entry in the directory looks like the one below:## user1@kasten.io, users, example.org
dn: cn=user1@kasten.io,ou=users,dc=example,dc=org
cn: User1
cn: user1@kasten.io
sn: Bar1
objectClass: inetOrgPerson
objectClass: posixAccount
objectClass: shadowAccount
userPassword:: < Removed >
uid: user1@kasten.io
uidNumber: 1000
gidNumber: 1000
homeDirectory: /home/user1@kasten.ioFor the example directory entries above, a suitable configuration for the
userMatcherswould be like the one below. If thednfield of a user matches thememberfield in a group, then the user's record will be returned by the Active Directory/LDAP server.--set auth.ldap.groupSearch.userMatchers[0].userAttr="dn"
--set auth.ldap.groupSearch.userMatchers[0].groupAttr="member"
Sample Auth Flow with Screenshots
This section shows screenshots depicting the Auth flow when Veeam Kasten is installed with Active Directory authentication.
-
AWS Simple ADservice was setup as the Active Directory service used by Veeam Kasten in a Kubernetes cluster deployed in Digital Ocean. -
A user named
productionadminwas created in theSimple ADservice and added to a group namedk10admins. -
A cluster role binding was created to bind the
k10adminsgroup to thek10-admincluster role. -
A role binding was created to bind the
k10adminsgroup to thek10-ns-adminrole in the Veeam Kasten namespace. -
When the user navigates to the Veeam Kasten dashboard, the user is redirected to the Active Directory/LDAP login screen.
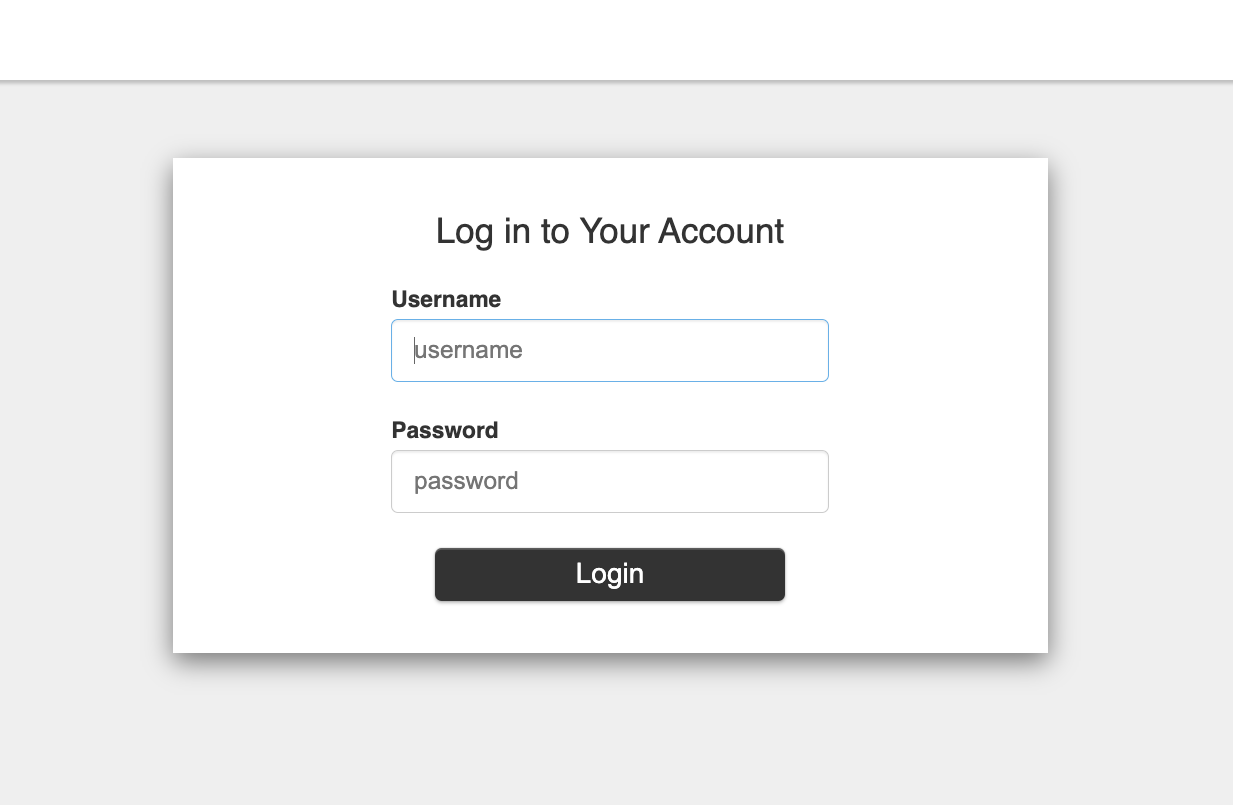
-
When authentication with the Active Directory/LDAP server succeeds, the user is redirected to the Veeam Kasten dashboard.
Troubleshooting
Common Name Certificates
Certificates that have a Common Name (CN), but no Subject Alternate Name (SAN) may cause an error to be displayed: "x509: certificate relies on legacy Common Name field, use SANs instead".
This is because the Common Name field of a certificate is no longer used by some clients to verify DNS names. For more information, see RFC 6125, Section 6.4.4.
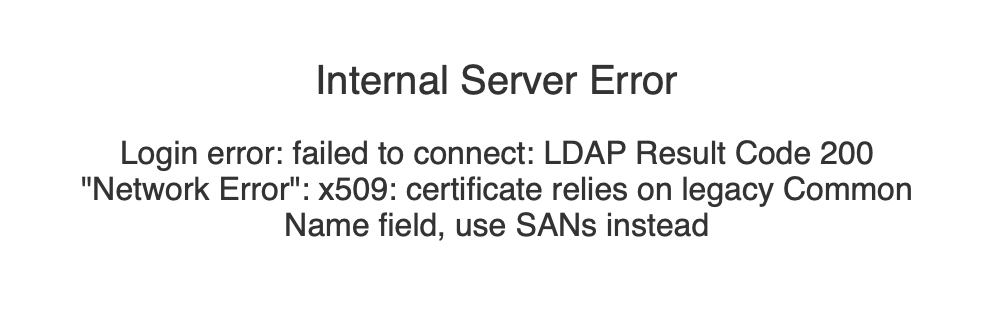
To correct this error, the certificate must be updated to include the DNS name in the SAN field of the certificate.
If necessary, it is possible to run an older version of Dex until the certificate can be updated with a proper SAN.
Running with an older version of Dex is not a recommended configuration!
Older images are missing critical security patches and should only be used as a temporary workaround until a new certificate can be provisioned.
To run with an older version of Dex, use the following values:
--set dexImage.registry=quay.io \
--set dexImage.repository=dexidp \
--set dexImage.image=dex \
--set dexImage.tag=v2.25.0 \
--set dexImage.frontendDir=/web
Other Authentication Options
For more information regarding TLS restrictions with Kasten, please refer to this documentation.
Group Allow List
When using authentication modes such as Active Directory, OpenShift, or OIDC, after a user has successfully authenticated with the authentication provider, Veeam Kasten creates a JSON Web Token (JWT) that contains information returned by the provider. This includes the groups that a user is a member of.
If the number of groups returned by an authentication provider results in a token whose size is more than 4KB, the token gets dropped and is not returned to the dashboard. This results in a failed login attempt.
The helm option below can be used to reduce the number of groups in JWT. It represents a list of groups that are allowed admin access to Veeam Kasten's dashboard. These groups will be appended to the list of subjects in the default ClusterRoleBinding that is created when Veeam Kasten is installed to bind them to the ClusterRole named
k10-admin. If the namespace where Veeam Kasten was installed iskasten-iothen the ClusterRoleBinding would be namedkasten-io-k10-k10-admin.--set auth.groupAllowList[0]="group1"
--set auth.groupAllowList[1]="group2"
Veeam Kasten Admin Groups
Suppose the
auth.groupAllowListhelm option is defined with a list of groups as "admin-group1, basic-group1, basic-group2" to restrict the number of groups included in the JSON Web Token, and if the group namedadmin-group1is the only group that needs to be setup with admin level access to Veeam Kasten, then use the helm option below.Instead of the groups in
auth.groupAllowList, only the groups inauth.k10AdminGroupswill be appended to the list of subjects in the default ClusterRoleBinding that is created when Veeam Kasten is installed to bind them to the ClusterRole namedk10-admin. If the namespace where Veeam Kasten was installed iskasten-iothe ClusterRoleBinding would be namedkasten-io-k10-k10-admin.--set auth.k10AdminGroups[0]="group1"
--set auth.k10AdminGroups[1]="group2"
Veeam Kasten Admin Users
This helm option can be used to define a list of users who are granted admin level access to Veeam Kasten's dashboard. The users in
auth.k10AdminUserswill be appended to the list of subjects in the default ClusterRoleBinding that is created when Veeam Kasten is installed to bind them to the ClusterRole namedk10-admin. If the namespace where Veeam Kasten was installed iskasten-iothe ClusterRoleBinding would be namedkasten-io-k10-k10-admin.--set auth.k10AdminUsers[0]="user1"
--set auth.k10AdminUsers[1]="user2"